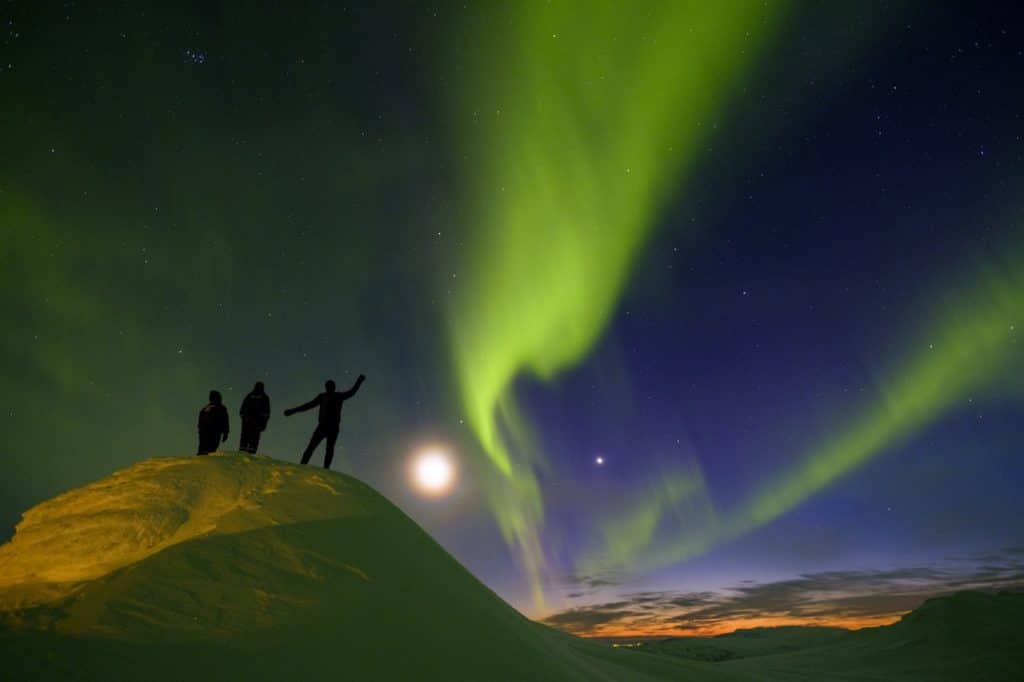
The northern lights are faint and far away, so even if you see them clearly with your own eyes, they probably won’t show up on a photo unless you follow these tips and tricks. A good camera is the best tool to get the photo you want but if you’ve got a smartphone, it’ll do. Most newer smartphones have an advanced option, allowing you to adjust the settings for your aurora photo shoot.
Bring a tripod
A tripod, or something to keep your camera level is essential to get a clear photo of the northern lights. You need a long exposure time to capture as much of the lights as you can and if your camera moves even a little, your photo will be blurry.
Set your aperture low…
The aperture dictates how much of your lens is covered. You want it as open as possible to capture as much of the lights as you can.
…your ISO high
The ISO dictates how sensitive the camera is to the light. Usually if you set it too high, the photo will be grainy but in the darkness of night, it’s essential. Start at 800 and adjust it until you find the setting you like.
…and set a long shutter speed
This controls how long the lens is exposed, taking in light. You need some time to capture the elusive northern lights, so try 10 seconds to begin with and then adjust it to your liking.
Check out this guide to the Northern lights in Iceland for a great list of useful tips and tricks to help you get the most out of your northern lights hunt!